政府门户网站建设的问题全国疫情又严重了
类似于画图软件的自由笔刷功能,当按住鼠标左键,在屏幕上画出连续的线条。
定义函数:
import cv2
import numpy as np# 初始化参数
drawing = False  # 鼠标左键按下时为True
ix, iy = -1, -1  # 鼠标初始位置# 鼠标回调函数
def mouse_paint(event, x, y, flags, param):global ix, iy, drawing# 左键按下事件if event == cv2.EVENT_LBUTTONDOWN:drawing = Trueix, iy = x, y# 鼠标移动事件elif event == cv2.EVENT_MOUSEMOVE:if drawing:cv2.line(img, (ix, iy), (x, y), (0, 255, 0), 2)ix, iy = x, ycv2.imshow('image', img)# 左键松开事件elif event == cv2.EVENT_LBUTTONUP:drawing = False# cv2.line(img, (ix, iy), (x, y), (0, 255, 0), 2)# cv2.imshow('image', img)cv2.waitKey(0)# 创建空白图像或读取现有图像
img = np.zeros((500, 500, 3), np.uint8)    # 创建空白图像
# img = cv2.imread('d:\\mask1\\3.png', cv2.IMREAD_COLOR)   # 读取现有图像# 创建一个窗口并将回调函数与窗口绑定
cv2.namedWindow('image')
cv2.setMouseCallback('image', mouse_paint)# 保存绘制轨迹后的图像
cv2.imshow('image', img)
cv2.waitKey(0)
cv2.imwrite('output_image.jpg', img)
cv2.destroyAllWindows()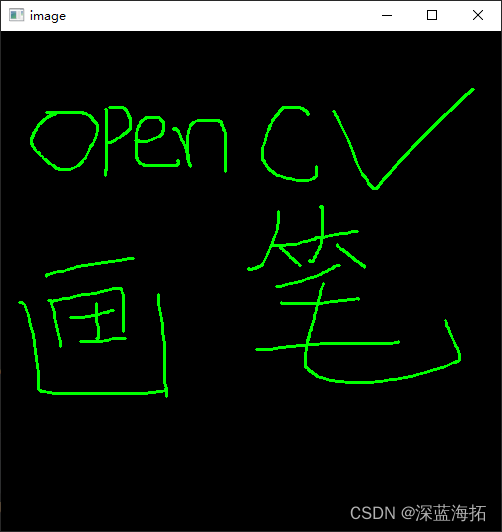
这里用到了OpenCV的鼠标回调函数cv2.setMouseCallback():
cv2.setMouseCallback() 是 OpenCV 库中用于设置鼠标事件回调函数的函数。该函数用于与图像窗口交互,通过在图像窗口中进行鼠标操作来获取像素点的坐标或执行一些特定操作。
函数原型为:
cv2.setMouseCallback(windowName, onMouse, param=None)
windowName是要操作的图像窗口的名称。onMouse是回调函数,用于处理鼠标事件。该函数通常包含四个参数:event(事件类型,如cv2.EVENT_MOUSEMOVE、cv2.EVENT_LBUTTONDOWN等)、x(鼠标点击的 x 坐标)、y(鼠标点击的 y 坐标)、flags(附加参数,如cv2.EVENT_FLAG_CTRLKEY、cv2.EVENT_FLAG_SHIFTKEY等)。param是传递给回调函数的可选参数。
封装为类:
import cv2
import numpy as npclass Painter:def __init__(self):self.drawing = Falseself.ix, self.iy = -1, -1self.img = np.zeros((500, 500, 3), np.uint8)def mouse_paint(self, event, x, y, flags, param):if event == cv2.EVENT_LBUTTONDOWN:self.drawing = Trueself.ix, self.iy = x, yelif event == cv2.EVENT_MOUSEMOVE:if self.drawing:cv2.line(self.img, (self.ix, self.iy), (x, y), (0, 255, 0), 1)self.ix, self.iy = x, ycv2.imshow('image', self.img)elif event == cv2.EVENT_LBUTTONUP:self.drawing = Falsecv2.waitKey(0)def run(self):cv2.setMouseCallback('image', self.mouse_paint)cv2.imshow('image', self.img)cv2.waitKey(0)cv2.imwrite('output_image.jpg', self.img)cv2.destroyAllWindows()if __name__ == "__main__":cv2.namedWindow('image')painter = Painter()painter.run()
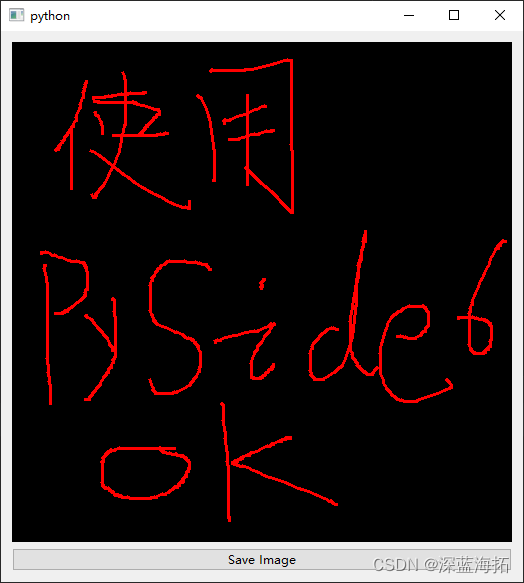
使用PySide6和OpenCV实现:
目前阶段我的PySide6熟悉程度要强于OpenCV
import sys
from PySide6.QtWidgets import QApplication, QLabel, QVBoxLayout, QWidget, QPushButton
from PySide6.QtGui import QPainter, QPixmap, QMouseEvent, QColor, QPen, QImage
from PySide6.QtCore import Qt, QPoint
import cv2
import numpy as npclass PaintLabel(QLabel):def __init__(self, parent=None):super(PaintLabel, self).__init__(parent)self.image = QImage()self.drawing = Falseself.last_point = QPoint()def set_image(self, image_file):self.image = QImage(image_file)self.setPixmap(QPixmap.fromImage(self.image))def mousePressEvent(self, event: QMouseEvent):if event.button() == Qt.LeftButton:self.drawing = Trueself.last_point = event.position()def mouseMoveEvent(self, event: QMouseEvent):if event.buttons() & Qt.LeftButton and self.drawing:painter = QPainter(self.image)pen = QPen(QColor('red'))pen.setWidth(3)painter.setPen(pen)painter.drawLine(self.last_point, event.position())self.last_point = event.position()self.setPixmap(QPixmap.fromImage(self.image))def mouseReleaseEvent(self, event: QMouseEvent):if event.button() == Qt.LeftButton:self.drawing = Falsedef save_image(self, file_path):self.image.save(file_path)class MainWindow(QWidget):def __init__(self):super().__init__()self.label = PaintLabel()# Load an image (you can change the file path)img = np.zeros((500, 500, 3), np.uint8)  # 创建空白图像q_img = cv2side(img)self.label.set_image(q_img)save_button = QPushButton('Save Image')save_button.clicked.connect(self.save_image)layout = QVBoxLayout()layout.addWidget(self.label)layout.addWidget(save_button)self.setLayout(layout)def save_image(self):self.label.save_image('output_image.png')# 将OpenCV格式的图像转换为PySide格式
def cv2side(img):img_rgb = cv2.cvtColor(img, cv2.COLOR_BGR2RGB)  # 转换 BGR 到 RGB# 转换图像到QT的QImage格式height, width, channels = img_rgb.shape  # 获取形状bytes_per_line = channels * width  # 每行字节数q_img = QImage(img_rgb.data, width, height, bytes_per_line, QImage.Format_RGB888)  # 转换成QImage格return q_imgif __name__ == "__main__":app = QApplication(sys.argv)main_window = MainWindow()main_window.show()sys.exit(app.exec())
运行截图: