怎么启用wordpressseo是搜索引擎优化吗
一,注册中心
最新版使用的是nacos,可替换为eureka,zookeeper,使用方式大同小异,这里不做扩展。
下载安装:(有机会重装时再补上)
管理页面:http://localhost:8848/nacos/index.html
二,搭建一个springcloud工程
1,创建一个maven 父工程,pom.xml如下:
<project xmlns="http://maven.apache.org/POM/4.0.0" xmlns:xsi="http://www.w3.org/2001/XMLSchema-instance" xsi:schemaLocation="http://maven.apache.org/POM/4.0.0 https://maven.apache.org/xsd/maven-4.0.0.xsd"><modelVersion>4.0.0</modelVersion><groupId>com.qi.study</groupId><artifactId>springcloud</artifactId><version>0.0.1-SNAPSHOT</version><packaging>pom</packaging><properties><java.version>18</java.version><spring-boot.version>2.7.3</spring-boot.version><spring-cloud.version>2021.0.3</spring-cloud.version><spring-cloud-alibaba.version>2021.1</spring-cloud-alibaba.version></properties><dependencyManagement><dependencies><!-- spring boot 依赖 --><dependency><groupId>org.springframework.boot</groupId><artifactId>spring-boot-dependencies</artifactId><version>${spring-boot.version}</version><type>pom</type><scope>import</scope></dependency><!-- spring cloud 依赖 --><!-- https://mvnrepository.com/artifact/org.springframework.cloud/spring-cloud-dependencies --><dependency><groupId>org.springframework.cloud</groupId><artifactId>spring-cloud-dependencies</artifactId><version>${spring-cloud.version}</version><type>pom</type><scope>import</scope></dependency><!-- spring cloud alibaba 依赖 --><!-- https://mvnrepository.com/artifact/com.alibaba.cloud/spring-cloud-alibaba-dependencies --><dependency><groupId>com.alibaba.cloud</groupId><artifactId>spring-cloud-alibaba-dependencies</artifactId><version>${spring-cloud-alibaba.version}</version><type>pom</type><scope>import</scope></dependency></dependencies></dependencyManagement><modules><module>nacos-server</module><module>app-web</module><module>app-service</module></modules>
</project>
2,创建三个子工程
<module>nacos-server</module>
<module>app-web</module>
<module>app-service</module>
以nacos-server为例,添加以下配置代码
1)pom.xml
<project xmlns="http://maven.apache.org/POM/4.0.0" xmlns:xsi="http://www.w3.org/2001/XMLSchema-instance" xsi:schemaLocation="http://maven.apache.org/POM/4.0.0 https://maven.apache.org/xsd/maven-4.0.0.xsd"><modelVersion>4.0.0</modelVersion><parent><groupId>com.qi.study</groupId><artifactId>springcloud</artifactId><version>0.0.1-SNAPSHOT</version></parent><artifactId>nacos-server</artifactId><dependencies><dependency><groupId>org.springframework.boot</groupId><artifactId>spring-boot-starter-web</artifactId></dependency><!-- https://mvnrepository.com/artifact/com.alibaba.cloud/spring-cloud-starter-alibaba-nacos-discovery --><dependency><groupId>com.alibaba.cloud</groupId><artifactId>spring-cloud-starter-alibaba-nacos-discovery</artifactId></dependency></dependencies><build><plugins><plugin><groupId>org.springframework.boot</groupId><artifactId>spring-boot-maven-plugin</artifactId></plugin></plugins></build>
</project>
2,application.yml
server:port: 8080spring:application:name: nacos-servercloud:nacos:discovery:server-addr: 127.0.0.1:88483,Application.java
package com.qi.study.springcloud;import org.springframework.boot.SpringApplication;
import org.springframework.boot.autoconfigure.SpringBootApplication;
import org.springframework.cloud.client.discovery.EnableDiscoveryClient;@SpringBootApplication
@EnableDiscoveryClient
public class NacosServerApplication {public static void main(String[] args) {SpringApplication.run(NacosServerApplication.class, args);}}
其他两个工程,app-web 和 app-service 同上面一样,只是改一下application.yml配置文件中的端口号和服务名称
#app-web
===============================================================
server:port: 8081spring:application:name: app-webcloud:nacos:discovery:server-addr: 127.0.0.1:8848===============================================================#app-service
===============================================================
server:port: 8082spring:application:name: app-servicecloud:nacos:discovery:server-addr: 127.0.0.1:8848
分别启动三个项目,在nacos服务注册中心查看是否注册成功:
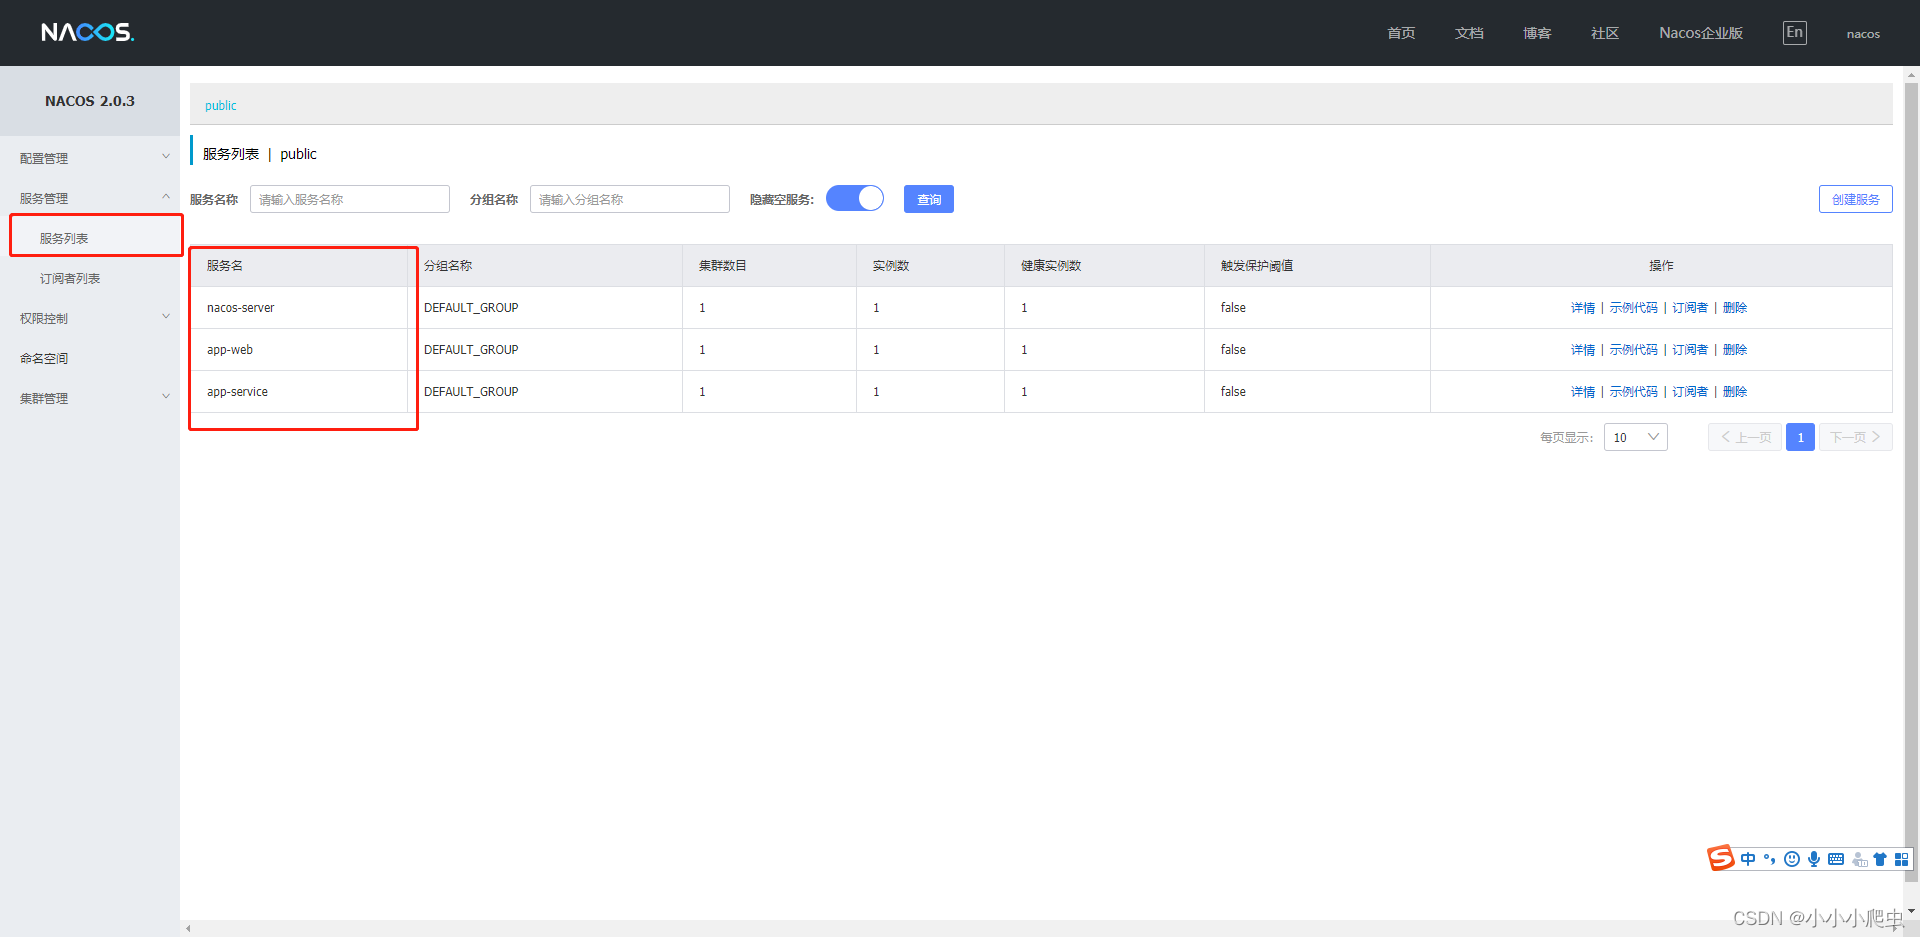
三,添加feign远程接口的调用测试
1,调用过程:app-web(controller) - feignClient - app-service(controller)
2,在工程app-web中添加feign依赖包:
<dependency><groupId>org.springframework.cloud</groupId><artifactId>spring-cloud-starter-openfeign</artifactId></dependency><!--引入openfeign,必须要引入loadbalancer,否则无法启动--><dependency><groupId>org.springframework.cloud</groupId><artifactId>spring-cloud-starter-loadbalancer</artifactId></dependency>3,在启动类Application.java中通过注解@EnableFeignClients开启feign功能
package com.qi.study.springcloud;import org.springframework.boot.SpringApplication;
import org.springframework.boot.autoconfigure.SpringBootApplication;
import org.springframework.cloud.client.discovery.EnableDiscoveryClient;
import org.springframework.cloud.openfeign.EnableFeignClients;@SpringBootApplication
@EnableDiscoveryClient
@EnableFeignClients
public class AppWebApplication {public static void main(String[] args) {SpringApplication.run(AppWebApplication.class, args);}
}
4,app-web 添加controller测试接口
package com.qi.study.springcloud.controller;import org.slf4j.Logger;
import org.slf4j.LoggerFactory;
import org.springframework.beans.factory.annotation.Autowired;
import org.springframework.web.bind.annotation.GetMapping;
import org.springframework.web.bind.annotation.RequestParam;
import org.springframework.web.bind.annotation.RestController;import com.qi.study.springcloud.feignClient.AppServiceClient;@RestController
public class HelloWorldController {private final static Logger LOGGER = LoggerFactory.getLogger(HelloWorldController.class);@Autowiredprivate AppServiceClient appServiceClient;@GetMapping("/helloWorld")public String helloWorld (@RequestParam(required = false) String msg) {LOGGER.info("app-web 访问helloWorld接口入参: {}", msg);return appServiceClient.helloWorld(msg);}
}
app-web 添加feignclient远程调用接口,重要注解@FeignClient(value = "app-service")
package com.qi.study.springcloud.feignClient;import org.springframework.cloud.openfeign.FeignClient;
import org.springframework.web.bind.annotation.GetMapping;
import org.springframework.web.bind.annotation.RequestParam;/*** 通过feign远程调用服务app-service的http接口* 特别注意:@FeignClient这里的value要与app-service在nacos中注册的名称一致,否则无法找到* @author Admin**/
@FeignClient(value = "app-service")
public interface AppServiceClient {@GetMapping("/hello")String helloWorld(@RequestParam(value = "msg", defaultValue = "world",required = false) String msg);
}
app-service 添加逻辑实现接口
package com.qi.study.springcloud.controller;import org.slf4j.Logger;
import org.slf4j.LoggerFactory;
import org.springframework.web.bind.annotation.GetMapping;
import org.springframework.web.bind.annotation.RequestParam;
import org.springframework.web.bind.annotation.RestController;@RestController
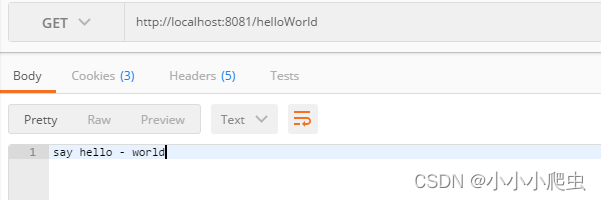
public class HelloController {private final static Logger LOGGER = LoggerFactory.getLogger(HelloController.class);@GetMapping("/hello")public String hello(@RequestParam(value = "msg", defaultValue = "world" ,required = false) String msg) {LOGGER.info("app-service访问接口hello入参: {}", msg);return "say hello - ".concat(msg);}
}
同时启动app-web和app-service,访问测试:
5,feign还支持负载均衡,无需额外配置,保持app-service服务开启,修改端口号为8083再次启动,可以看到app-service注册的服务变为了两个
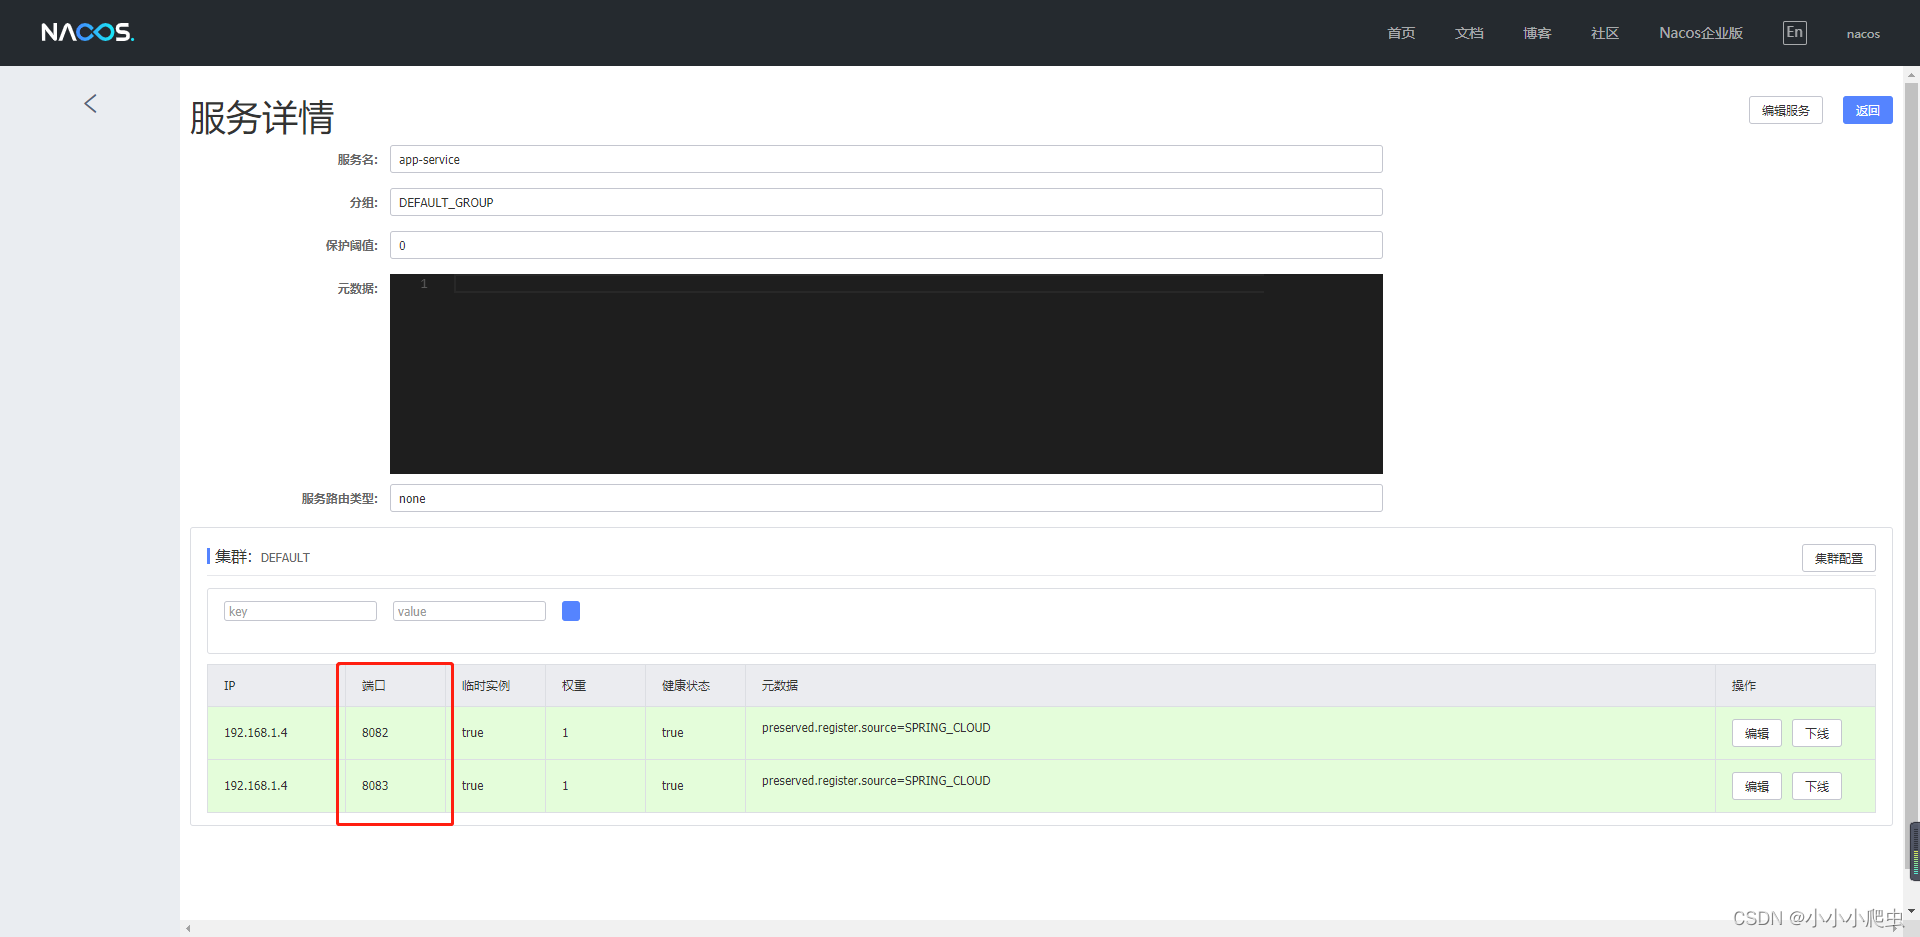
多次调用上面的测试接口就能看到两个app-service服务轮流返回数据。
四,源代码下载:https://download.csdn.net/download/MyNoteBlog/87447400